
The long project
Growing garlic bulbs hydroponically
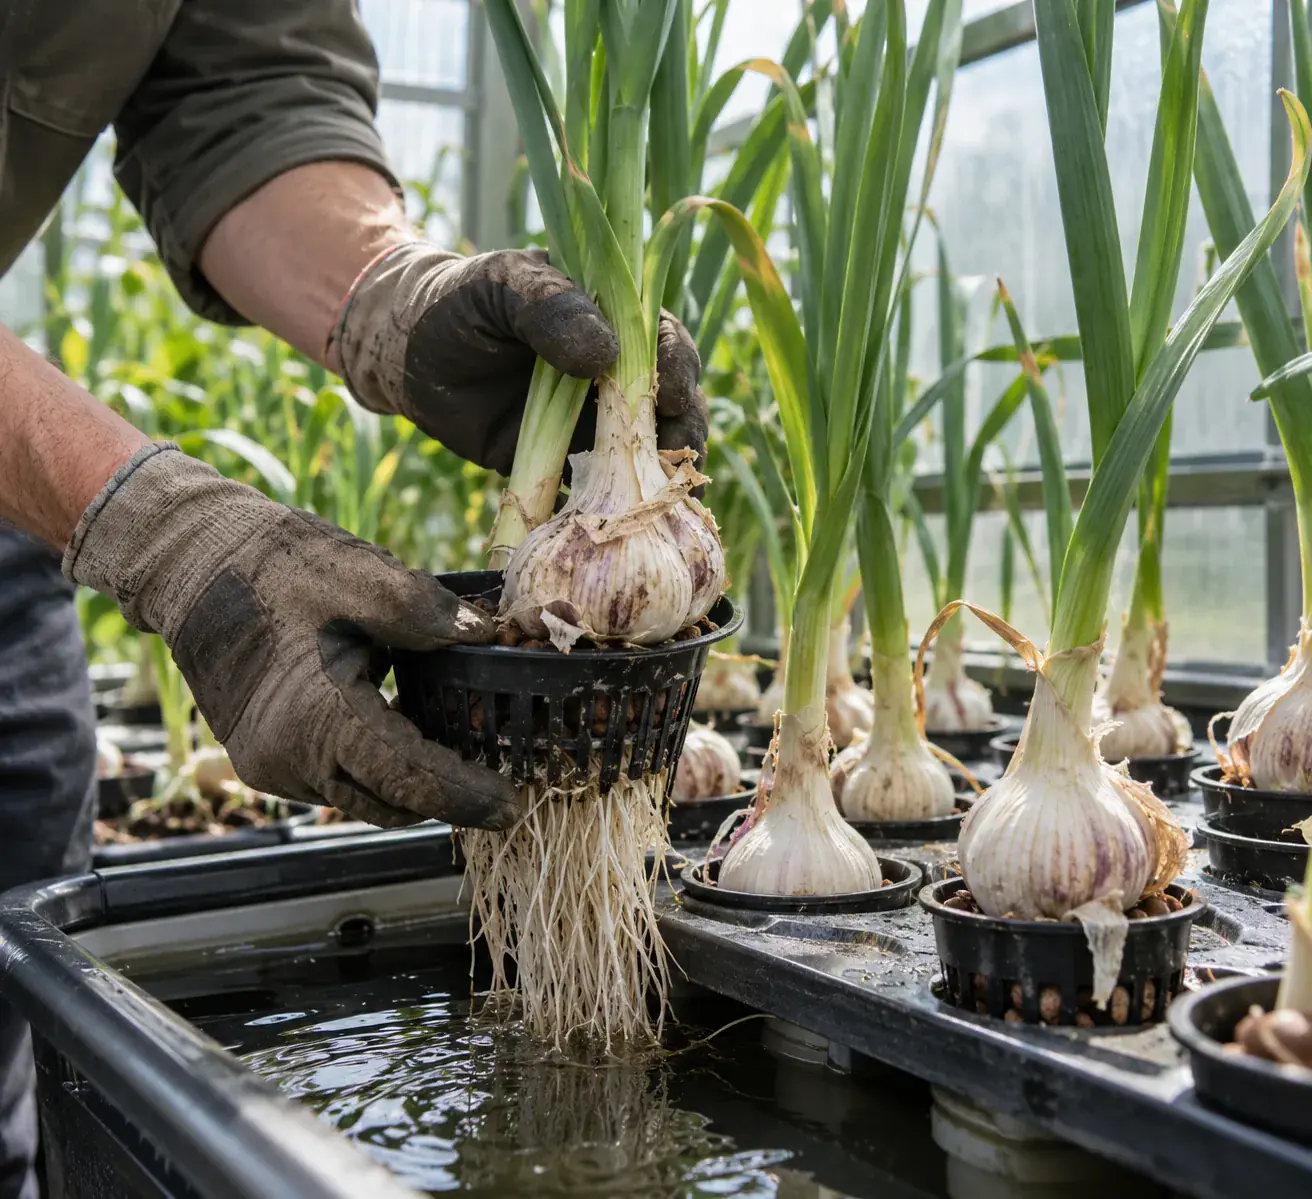
Growing garlic bulbs hydroponically is possible with the Kratky method, but it is the slow end of garlic growing: plan on six to eight months, cloves that have had a proper cold spell, long days under a light, and a basal plate that never sits in the water. Here is a realistic plan.
Why bulbs are harder than greens
A garlic clove will grow leaves almost anywhere. Making a new, divided bulb is a different process with two triggers. First, most garlic needs a period of cold, called vernalization, before it will form cloves. Oregon State University describes about six to eight weeks at average temperatures below 40°F, with some strains needing less. Second, after the cold, bulbing starts when the days are longer than a critical length, and warmth speeds it up.
Outdoors, a fall planting gets both for free: winter supplies the cold and early summer supplies the long days. Indoors, you provide them yourself. Skip the cold and many cloves grow into a single round bulb with no divisions, or no bulb at all. That is the most common disappointment with indoor garlic.
| Time to harvest | About 6 to 8 months from planting |
|---|---|
| Clove chilling | About 6 to 8 weeks below 40°F before planting |
| Best type to start with | Softneck (more forgiving indoors) |
| Solution pH | 6.0 to 6.5 |
| Room temperature | About 65 to 75°F; avoid long spells above 85°F |
| Light | Moderate days while leafing out, then long days for bulbing |
| Spacing | One clove per net cup, about 4 inches apart |
Step 1: Choose and chill the cloves
Start with seed garlic or organic garlic from a source that sells it for planting. Softneck varieties are generally recommended for indoor growing because they are less demanding, while hardneck types usually need a longer, colder treatment. See garlic varieties for hydroponics for the differences.
Before planting, give the cloves their winter. Research on clove chilling has shown that cold treatment of the cloves before planting can satisfy garlic’s cold requirement, so the plant does not need cold while it grows. In practice that means about six to eight weeks in the refrigerator, in a paper bag, away from fruit. Our post pre-chill garlic cloves before indoor growing walks through it. One caution from Oregon State: storing cloves for very long below 40°F can lead to rough bulbs and early maturity, so chill for the weeks you need and then plant.
Step 2: Set up a bigger Kratky container
A bulb crop lives in the container for months and drinks far more than a crop of greens. Use an opaque bin or bucket with a lid rather than a small jar: a few gallons for a handful of plants, with net cups spaced about 4 inches apart. A bigger reservoir means fewer refills and steadier conditions.
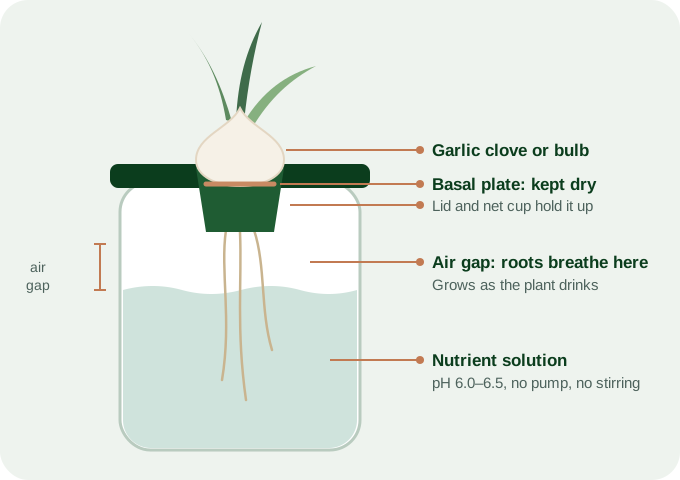
Set each clove in its net cup, point up, in a little clay pebble or coco so it stands upright. The basal plate must stay above the solution. Fill until the solution just touches the bottom of the net cups, so the first roots reach it quickly. The Kratky garlic setup guide has the full build.
Step 3: Grow leaves first
The leaves are the bulb’s solar panels: each leaf the plant makes now becomes a wrapper around the bulb later, so a plant with more healthy leaves tends to make a bigger bulb. For the first months, aim for steady leafy growth: moderate light of about 12 hours a day, a comfortable room, and a standard hydroponic nutrient at normal strength with the pH at 6.0 to 6.5. Hydroponic garlic guides suggest a starting EC of about 1.4 to 1.8 mS/cm. Avoid pushing extra nitrogen; growers report garlic in water struggling on high-nitrogen mixes.
Step 4: Refill without drowning the air roots
Here a long crop differs from a classic Kratky lettuce. Over six months your plants will drink the reservoir down many times. When the level gets low, add fresh solution, but only enough to reach the lower roots. Leave the top few inches of roots in moist air; they have adapted to breathe there and can die if flooded. Never refill to the brim, and never let the basal plates get wet.
Step 5: Give long days to trigger bulbing
Bulbing responds to day length after the cold requirement is met. Field research has found that bulb formation is helped by a long photoperiod and higher temperature, and Oregon State notes that longer cold treatment shortens the day length needed. Hydroponic sources do not agree on an exact number of hours, and some recommend shorter days than the field research suggests. A sensible indoor plan is to lengthen the light to 14 hours or more once the plants have plenty of leaves, and keep the room warm but not hot.
Heat can undo the cold. Oregon State reports that vernalization can be reversed by water stress or temperatures above 85°F. Keep the container out of hot sun and never let it run dry.
Step 6: Snap the scapes (hardneck only)
Hardneck garlic sends up a flower stalk called a scape. Growers usually cut scapes when they curl so the plant puts its energy into the bulb, and the scapes themselves are a treat. Softneck garlic rarely makes a scape.
Step 7: Harvest when half the leaves are brown
One advantage of growing garlic in a Kratky container is that you can see the bulb without digging. Harvest when roughly half of the leaves have turned yellow or brown and the tops start to bend over. Oregon State notes that garlic for the table can also be pulled earlier, while some green remains. Wait too long and the wrappers break down and the cloves start to separate.
Step 8: Cure, then store
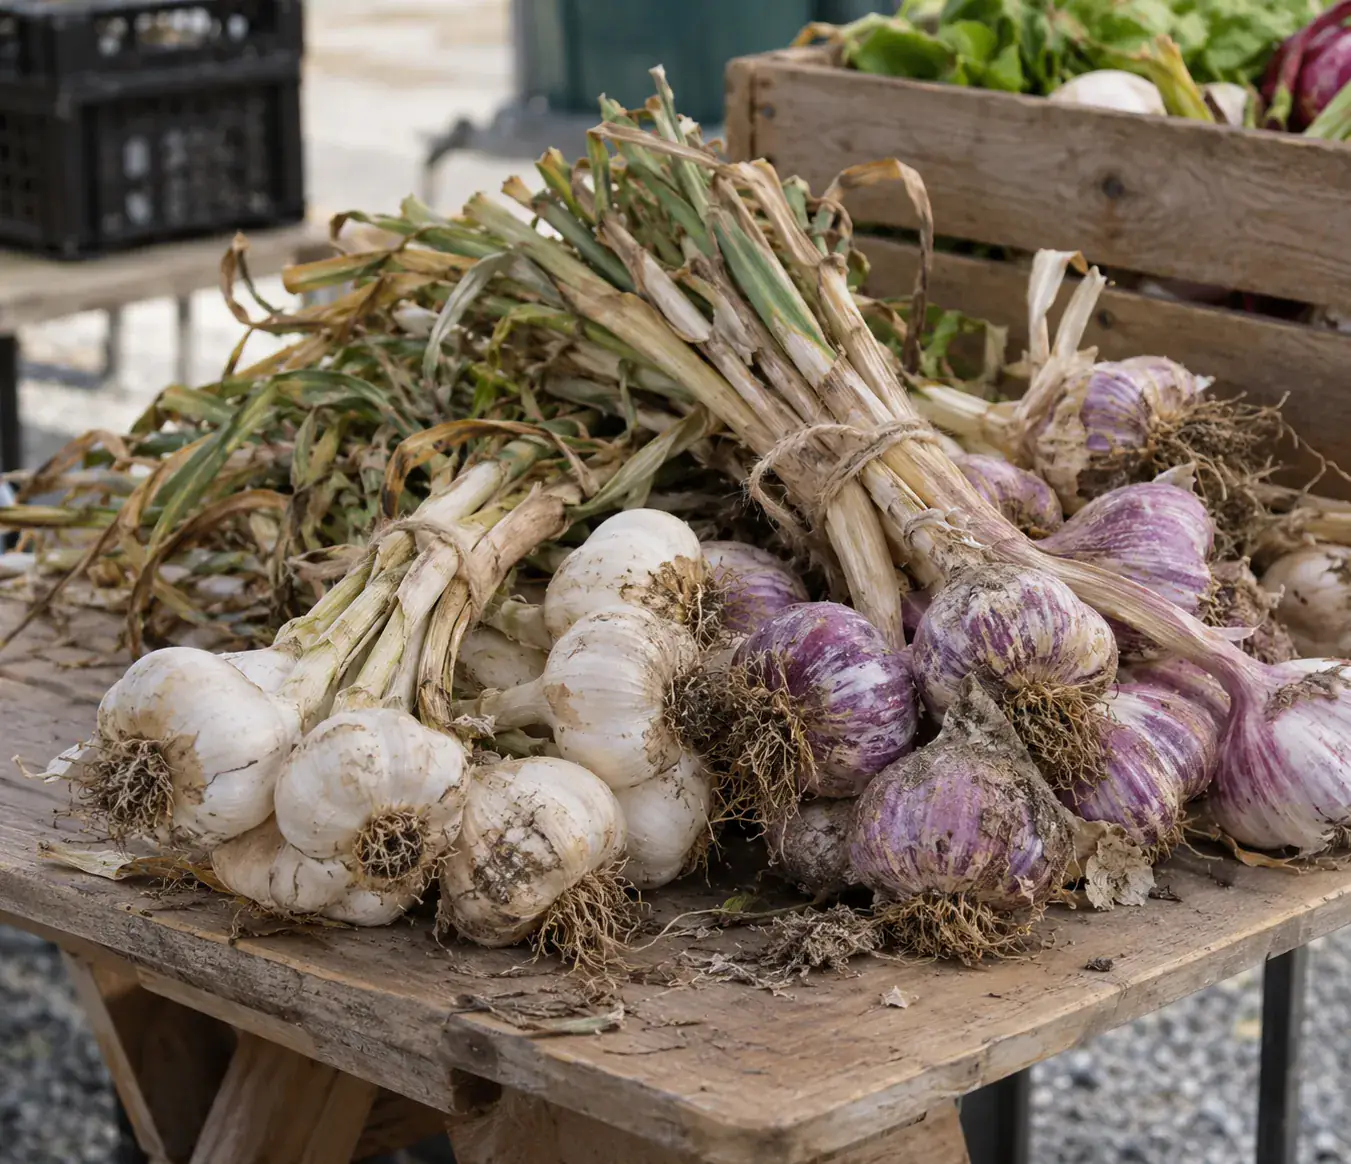
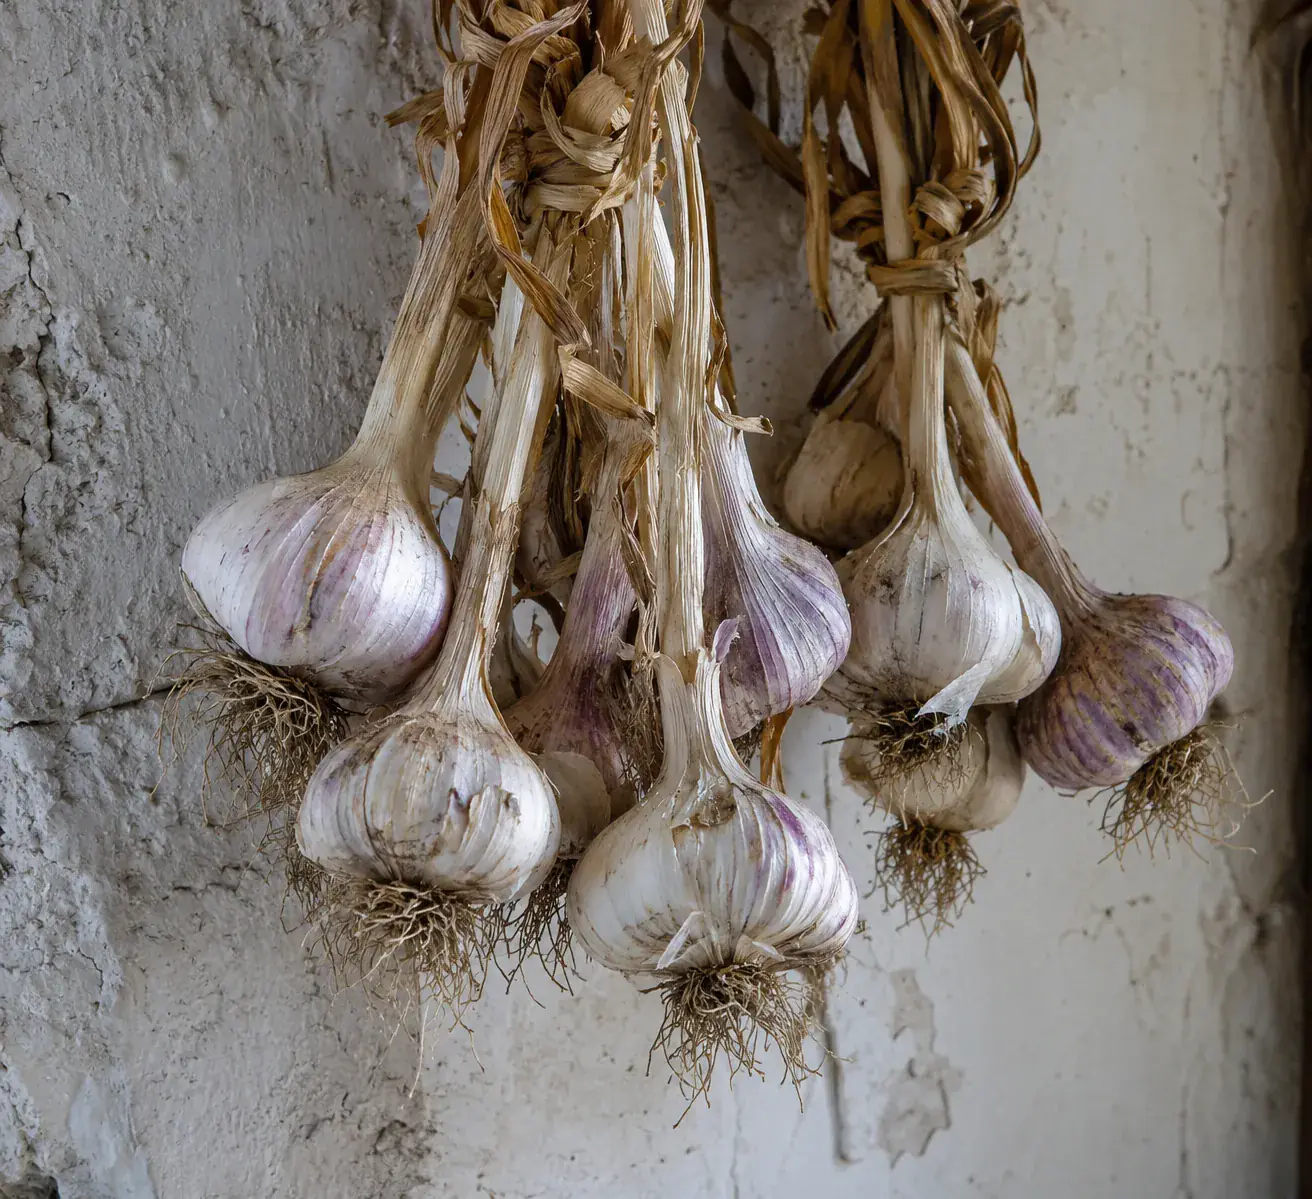
Lift the plants out with roots and leaves attached and hang them in a shaded, airy, dry place. Field growers cure for about two weeks; hydroponic guides suggest up to about six weeks. Garlic is cured when the neck is dry and tight and the outer wrappers are papery. Then trim the roots to about half an inch and the top to about an inch. Keep the biggest, healthiest bulbs to plant again.
What to expect from a first crop
Treat a first indoor bulb crop as an experiment. Results depend on the variety, how well the cold requirement was met, the light and the temperature. If you get round, undivided bulbs, they are still good to eat and they tell you something: usually that the cloves needed more chilling or the days were too short. Our Kratky garlic problems guide covers that and other issues. While you wait, a jar of Kratky garlic greens or garlic chives keeps the kitchen supplied.
Sources
- Oregon State University, Oregon Vegetables: Garlic (vernalization, bulbing, storage, harvest and curing).
- Clove chilling and garlic bolting and bulbing: Scientia Horticulturae, “Growth, bolting and yield of garlic (Allium sativum L.) in response to clove chilling treatment”.
- “Response of garlic (Allium sativum L.) bolting and bulbing to temperature and photoperiod treatments”, PubMed Central PMC4890667.
- Hydrobuilder Learning Center: How to grow hydroponic garlic (pH, EC, basal plate, timeline, curing).
- Permies forum: garlic in a Kratky setup and high-nitrogen nutrients (grower report).